
Table of Contents
ToggleUpgrading or replacing the fridge in an RV often feels like navigating a maze of voltage options, installation brackets, and cooling tech. A 12V RV refrigerator runs directly off the coach’s house battery system, eliminating the need for propane or constant shore power hookups. That makes it ideal for boondockers, weekend warriors, and anyone who wants reliable cooling without idling a generator. Understanding how these units work, and what separates a budget model from a quality compressor fridge, will save headaches down the road and keep perishables cold in the middle of nowhere.
Key Takeaways
- A 12V RV refrigerator operates directly from your coach’s house battery using a variable-speed compressor, eliminating the need for propane or constant shore power and enabling true off-grid camping capability.
- Modern 12V compressor fridges draw 2.5 to 5 amps while running and use roughly half the power of comparable absorption models, making them ideal when paired with solar panels and lithium batteries.
- Quality 12V RV refrigerator models feature industry-standard Danfoss or Secop compressors, 2–3 inches of high-density insulation, and low-voltage cutoff protection to prevent battery drain.
- Proper installation requires dedicated 10 AWG marine wiring with an inline 15-amp fuse, secure mounting brackets, and adequate ventilation clearance to prevent compressor overheating and ensure long-term reliability.
- Regular maintenance—including quarterly door seal inspections, monthly voltage checks, and annual condenser coil cleaning—keeps your 12V RV refrigerator running efficiently and extends its lifespan.
What Is a 12V RV Refrigerator and How Does It Work?
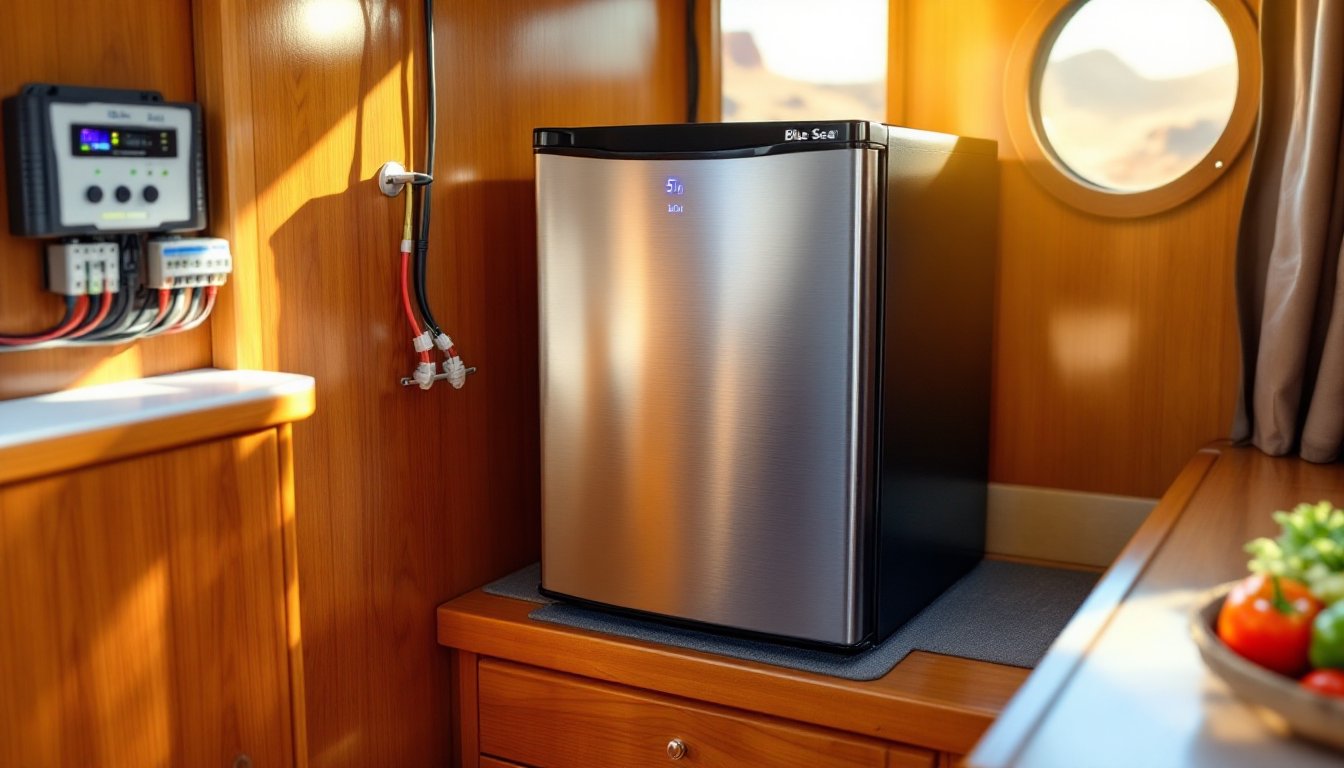
A 12V RV refrigerator is a compression-style or thermoelectric cooling unit designed to operate on direct current from an RV’s battery bank. Unlike traditional absorption fridges that burn propane or require 120V AC power, a 12V compressor fridge uses a variable-speed compressor and refrigerant cycle, similar to a household refrigerator but optimized for low-voltage DC input.
Most modern units draw between 2.5 and 5 amps when running, cycling on and off to maintain set temperature. Actual power consumption depends on ambient temperature, insulation quality, and how often the door opens. A well-insulated 50-liter unit might pull 30–50 amp-hours per day in moderate weather.
The compressor is typically a Danfoss or Secop BD-series, industry-standard units known for efficiency and durability. These variable-speed compressors ramp up when cooling demand is high and throttle back once target temp is reached, conserving battery. Thermoelectric models use Peltier elements instead, quieter and vibration-free, but far less efficient and unsuitable for high ambient temperatures above 80°F.
Key Benefits of Choosing a 12V Refrigerator for Your RV
Switching to a 12V fridge opens up serious off-grid capability. The biggest advantage is battery-only operation, no propane tanks to refill, no waiting for a flame to ignite, and no pilot light to blow out on rough roads. That alone simplifies winterizing and eliminates propane-related fire risks.
Energy efficiency is another win. A quality 12V compressor fridge uses roughly half the power of a comparable absorption model running on AC inverter. Pair it with 200–400 watts of solar and a lithium house battery, and many RVers run indefinitely without hookups.
Cooling performance is consistent regardless of outside temperature or coach leveling. Absorption fridges struggle in heat and need the RV nearly level to function: compressor units don’t care. They’ll hold 35°F in the fridge compartment and 0°F in the freezer, even parked on a slope in the desert.
Finally, quiet operation beats the hiss and click of propane flames. Variable-speed compressors hum softly and cycle less often than older single-speed designs, making them neighbor-friendly in campgrounds.
Top Features to Look for When Shopping for a 12V RV Refrigerator
Capacity is the first decision. Measure the cabinet cutout or available floor space before browsing. Portable chest-style fridges range from 20 to 100+ liters: built-in upright models often fit standard RV cabinet dimensions (e.g., 3.1 or 5.5 cubic feet).
Compressor type matters. Look for Danfoss/Secop BD35F or BD50F compressors in portable units, or equivalent OEM compressors in built-in models. These are proven workhorses with global service networks. Avoid no-name compressors with vague specs.
Insulation thickness directly affects efficiency. Quality units use 2–3 inches of high-density foam. Cheaper models skimp here, forcing the compressor to run longer. Check the R-value if listed, or compare daily amp-hour consumption specs across similar-sized units.
Digital temperature controls with LED displays beat analog dials for precision. Dual-zone models let you run fridge and freezer at independent temps, handy for ice cream and fresh produce in one box.
Look for low-voltage cutoff protection to prevent draining the house battery below safe levels (typically 10.5V for lead-acid, 11V for lithium). Some units include Bluetooth app integration for remote monitoring, useful if the fridge is tucked in a slide-out or basement compartment.
Finally, check hinge orientation and door swing. Reversible doors add flexibility during installation, especially in tight galleys.
Best 12V RV Refrigerator Models in 2026
Dometic CFX3 series remains a top pick for portable chest fridges. The CFX3 55 offers 53 liters, runs on both 12V and 110V AC, and includes app control and USB charging ports. Daily consumption hovers around 0.77 kWh in eco mode, manageable on modest solar setups. Build quality is tank-like, and replacement parts are widely available.
For built-in upright models, the Isotherm Cruise series (65L or 130L) integrates cleanly into cabinetry with front-venting compressors. They’re pricier but whisper-quiet and use stainless steel interiors that resist odors. The Cruise 130 pulls about 2.8 amps on average, ideal for multi-day dry camping.
Budget-conscious RVers often land on ARB Elements or Alpicool portable fridges. The Alpicool C50 offers 50 liters for under $400, though insulation isn’t as robust as Dometic. It’s a solid entry point if solar capacity is limited and you’re mostly using hookups.
Many portable refrigerators tested in 2023 showed significant performance gaps based on compressor quality and insulation, so comparing verified amp-draw specs before buying pays off.
If kitchen aesthetics matter, residential-style 12V fridges like the Nova Kool R4500 mimic home appliances with shelving and crisper drawers. They require more cabinet depth (24+ inches) but offer familiar layouts for full-timers.
Step-by-Step Installation Guide for Your 12V RV Refrigerator
Safety first: Disconnect the house battery negative terminal and turn off all 12V breakers. Wear safety glasses when drilling or cutting, and work in a well-ventilated space if using adhesives.
Portable Chest Fridge Installation
- Choose a secure location. Floor-mount brackets or slide-out trays prevent the unit from shifting during travel. Avoid placing it in direct sunlight or next to a furnace vent.
- Run dedicated wiring. Use 10 AWG tinned marine wire for runs under 10 feet to the battery: upgrade to 8 AWG for longer distances. Install an inline 15-amp fuse within 18 inches of the battery positive terminal.
- Connect wiring. Attach positive to the battery bus or dedicated fridge breaker: negative to the common ground bus. Use heat-shrink terminals and dielectric grease on connections to prevent corrosion.
- Test operation. Reconnect the house battery, power on the fridge, and set the target temp. Monitor voltage at the fridge plug with a multimeter, should read 12.4V or higher with the engine off.
- Secure the unit. Bolt or strap it down using L-brackets and stainless hardware. Units weighing 40+ pounds become projectiles in a hard stop.
Built-In Upright Installation
- Measure the cabinet cutout. Verify height, width, and depth against the fridge specs. Account for rear ventilation clearance (typically 1–2 inches) and door swing radius.
- Remove the old fridge. Disconnect propane lines if replacing an absorption unit, cap lines immediately and pressure-test with soapy water. Unbolt mounting flanges and carefully slide out the old unit.
- Install mounting brackets. Most upright models use side or top-mount flanges. Pre-drill pilot holes in cabinet framing: use #8 stainless screws into solid wood, never just into thin paneling.
- Wire to the DC panel. Route 10 AWG wire from the fridge to a dedicated 15-amp breaker on the 12V distribution panel. Label the breaker clearly. If the panel is full, add a Blue Sea fuse block for extra circuits.
- Ventilation is critical. Front-venting compressors exhaust heat through the lower grille. Ensure nothing blocks this airflow. Rear-venting models need an exterior vent with at least 50 square inches of opening to prevent overheating.
- Seal gaps. Use Dicor lap sealant or butyl tape around cabinet edges to keep road dust and moisture out. Check that the door seals evenly, adjust hinge screws if needed.
- Test for 24 hours. Monitor amp draw with a battery monitor shunt or clamp meter. A 50-liter fridge should cycle on for 10–15 minutes, then off for 20–40 minutes in moderate weather.
Permit note: Replacing a fridge is typically considered maintenance, not a structural or electrical modification requiring permits. But, adding new DC circuits in some jurisdictions may require inspection, check local RV codes.
Maintenance Tips to Keep Your 12V RV Refrigerator Running Efficiently
Clean the condenser coils every 3–6 months. Dust and pet hair reduce airflow, forcing the compressor to work harder. Use a soft brush or compressed air on the fins, avoid bending them.
Inspect door seals quarterly. Close the door on a dollar bill: if it pulls out easily, the gasket needs replacing. Worn seals leak cold air and spike power consumption. Most gaskets are held by screws or adhesive and cost $20–$40.
Check DC voltage at the fridge terminals monthly. Voltage drop below 12V under load indicates undersized wiring, corroded connections, or a failing battery. Clean terminals with a wire brush and apply dielectric grease.
Defrost the freezer compartment when frost buildup exceeds 1/4 inch. Thick ice insulates the evaporator, reducing efficiency. Turn off the unit, remove contents, and let it thaw naturally, never chip ice with metal tools.
Monitor amp-hour consumption with a battery monitor like the Victron BMV-712. Sudden increases signal failing insulation, a struggling compressor, or frequent door openings. Many modern fridges also log run time via Bluetooth apps.
Ventilation grilles and fans (if equipped) should be vacuumed annually. Blocked vents cause compressor overheating and thermal shutdowns, especially in summer.
When storing the RV for extended periods, either run the fridge on a trickle charger or fully power it down and prop the door open to prevent mildew. Wipe interior surfaces with a baking soda solution (1 tablespoon per quart of water) before closing it up.
Conclusion
A quality 12V RV refrigerator transforms how and where an RV can camp, cutting reliance on propane and shore power while delivering consistent cooling performance. Choosing a model with a proven compressor, adequate insulation, and the right capacity, then installing it with proper wiring and ventilation, sets up years of trouble-free operation. Regular maintenance keeps efficiency high and prevents the midnight panic of warm beer and melted ice cream in the desert.